


In the first Easy DIY article for 2021, I’ll be telling you how I made a wooden chest Ottoman. Hopefully this will inspire you to make your own, your way!
I made this item in 2018 to use in our lounge – it’s just the right height and size to occupy the space in front of our sofa, where we spend most of our evenings. It’s a nice comfortable leg support for when we’re watching movies on our [link] suspended screen, reading, or playing games on our phones or working on our laptops.
I used pallet wood for this project, which cost me something like R20 – worth it, wouldn’t you say? Anyway, I’ll give you the measurements I used, but you’ll have to adapt them according to the materials you have available – and your own requirements! There are a lot of ways to do this, but this is how I did it.
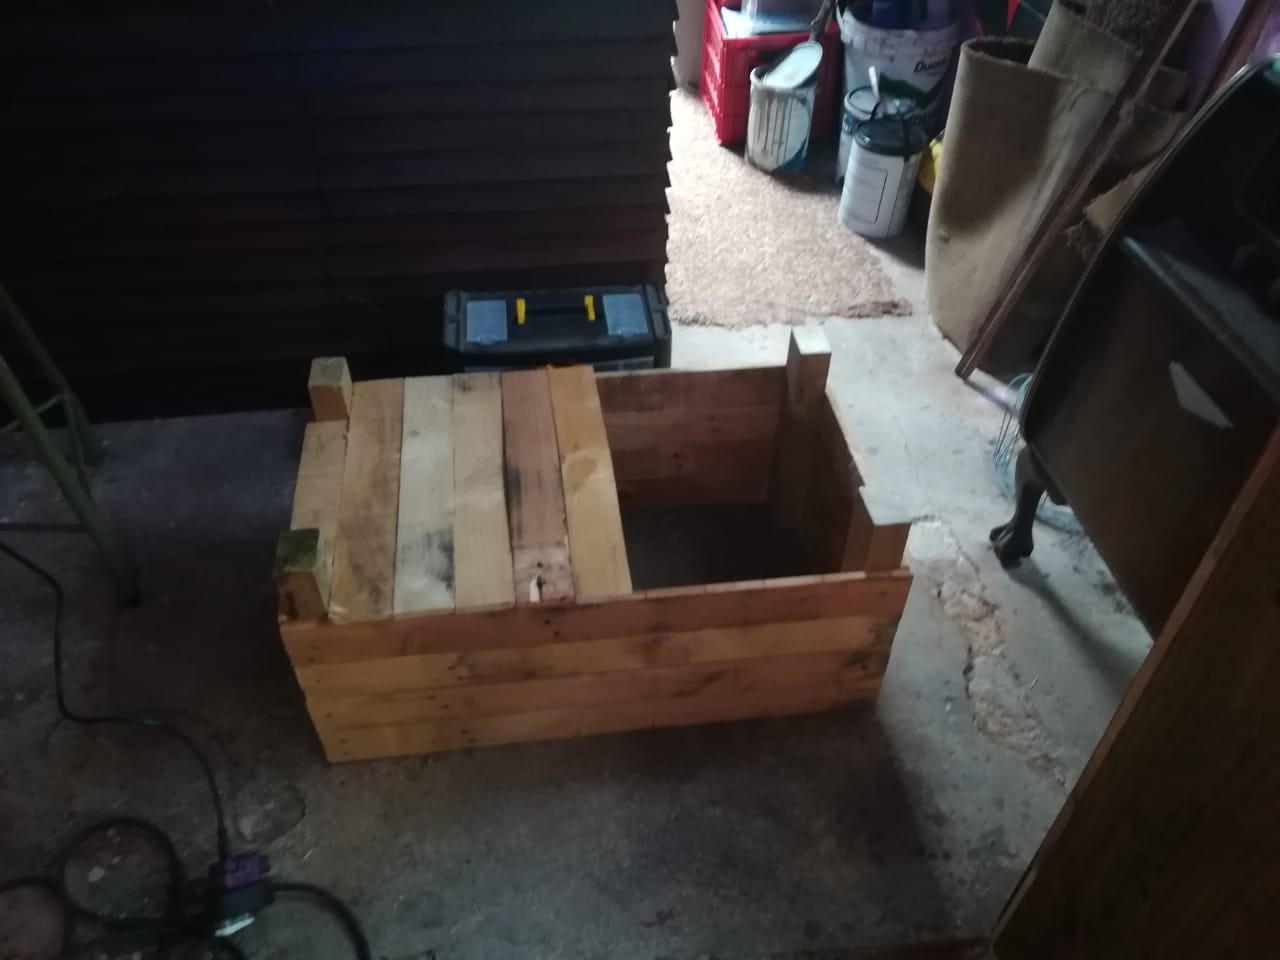
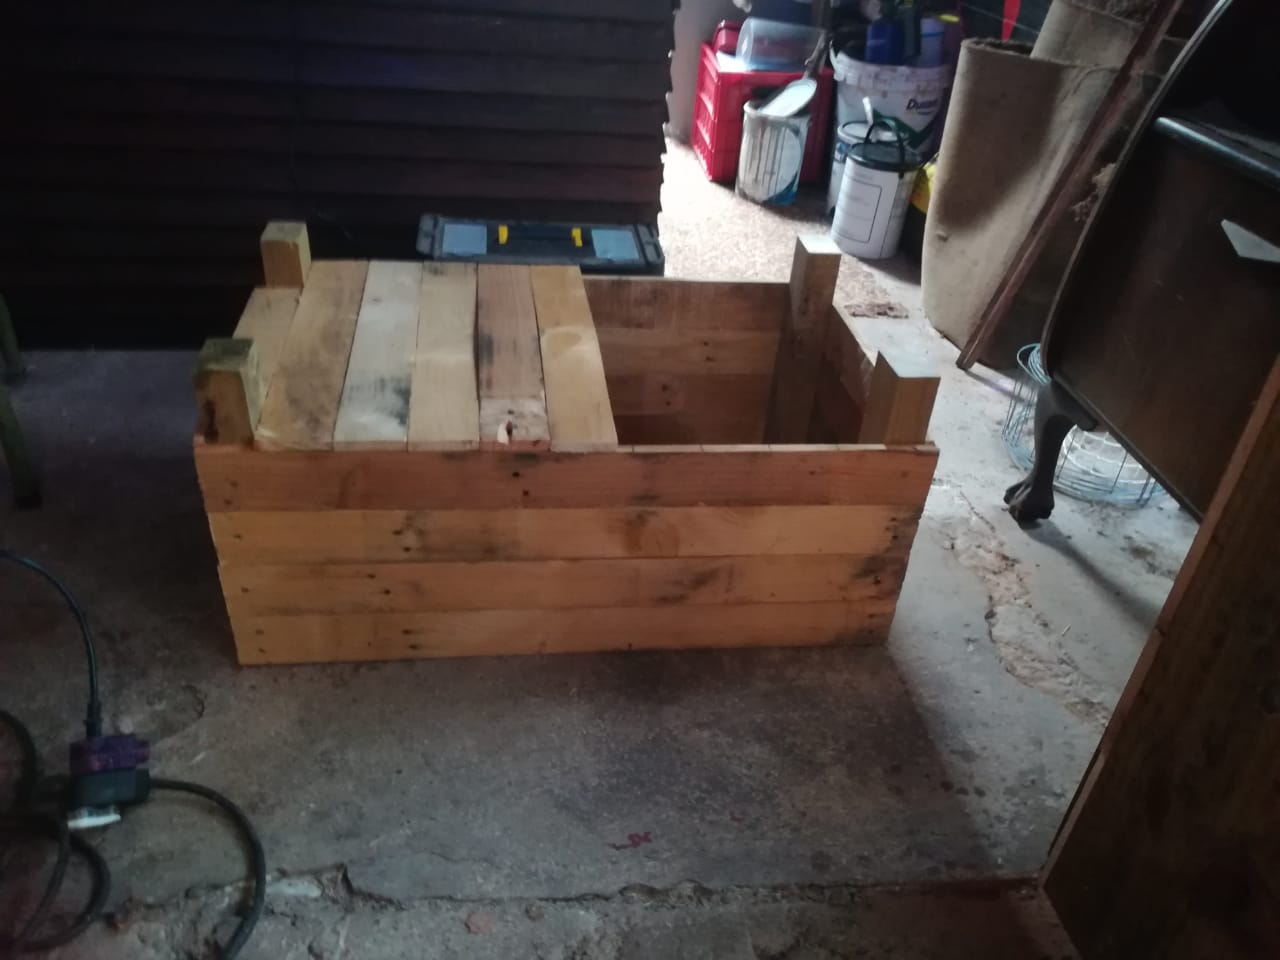
I made the box in stages, beginning with the two narrower sides. It started with determining the intended height of the completed box (37cm), and then cutting four legs to that height. Once I’d determined the width (44cm), I cut 4x planks to that same measurement, and started attaching them to the outside of two legs from the top end down with self-tapping chipboard screws (2 per plank end) in order to make a neat, level top edge ultimately all the way round the box. The planks of this particular pallet were all 7,5cm broad incidentally. Naturally this leaves a space at the bottom of the box with the ends of the legs exposed. This was to ensure that there will be a space between the bottom of the box and the floor.
Once this was done, I had two sides of identical measurements. In order to connect them, I cut eight lengths of planking to 80cm and again attached them to the adjacent sides from the top down, again using 2x screws per plank end to make the long sides of the box.
This should make a nice sturdy box, but there’s still the bottom to do! I again cut nine plank lengths the width of the box, and attached them with screws from the outside bottom to make the floor.
To make the lid, I cut six more planks measuring along the length of the box and joined them with two strips along the inside of the lid. The inner plank supports need to be short enough to fit inside the sides of the box, so as to not ride on top of the edges!
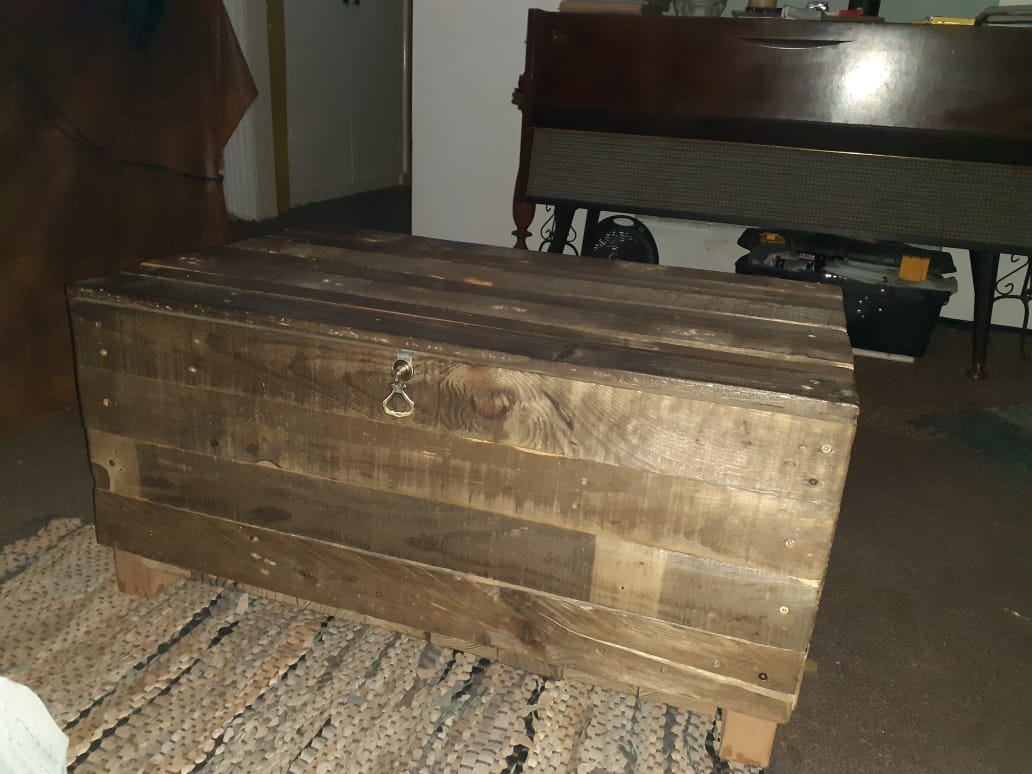
As I wanted a rustic look, I didn’t do much heavy sanding on the wood, just enough to remove any splinters and rough surfaces. This done, I selected a pair of appropriate hinges (mounted on the rear edge of the lid) and a handle which I mounted on the front to lift it.
Then came the finishing of the outside of the box. With the assistance of my partner in crime, Wendy, we made some wood stain using a mixture of vinegar, steel wool and tea allowed to rust and blend over a couple of days! Applied with a piece of sponge, it made a beautiful stain on the outside of the wood! If that’s not your cup of tea, you could always by a stain or just use varnish.
The handles on the side were made using decorative door hinges – you can read about how I made these here – and were attached to the sides. Be sure to attach them at the same height or your box will look odd!
At last it was time to make the Ottoman’s poofy top that would make it a comfy place to rest feet and bums! I used some old off-cut sponge for this, which after trying a few alternatives (old pillows, a continental, and batting) turned out to be the best by far!
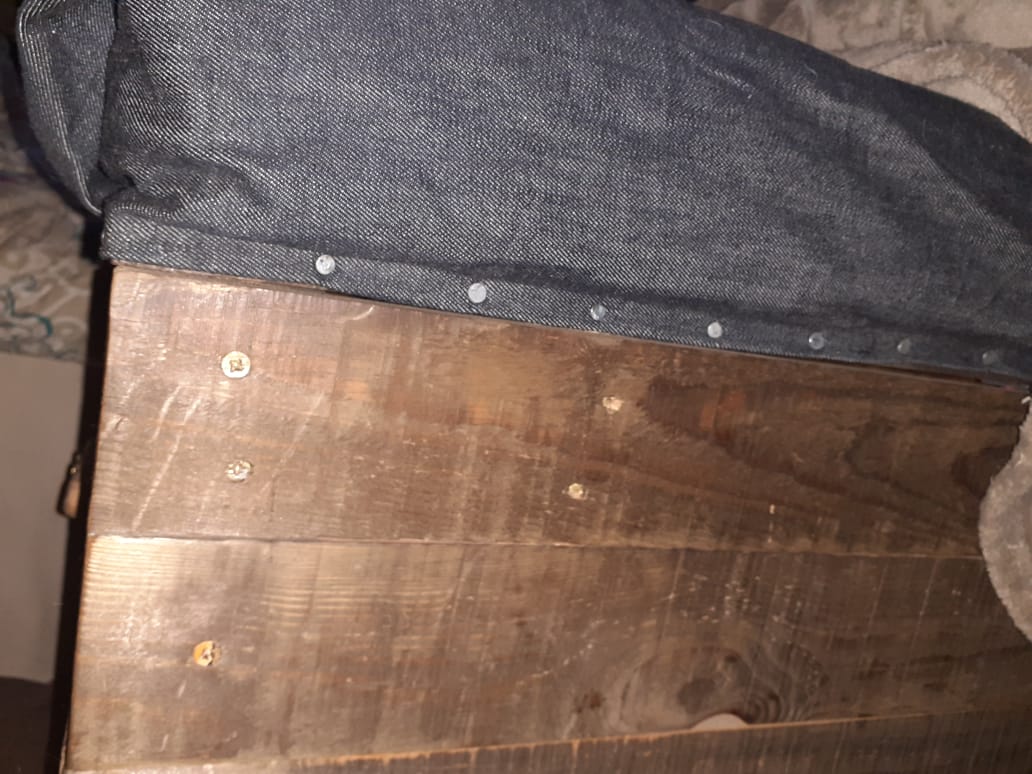
I cut the sponge to fit the top of the lid. In order to make a piece the exact dimensions of the lid, I had to used two pieces of loose sponge, which I then sewed together along their join to make a stable one-piece cushion. A quick trip to the material shop resulted in a bargain – a two meter length of black denim for just R25 – and a pack of ordinary drawing pins from a stationery shop.
In covering the lid with the material, I started at one edge and worked around from there in opposites – front to rear, side to side. As you can see from the pictures, I secured the edges of the material to the bottom lip of the lid with the drawing pins. While most of the drawing pins went in with thumb pressure, I used a small hammer to convince the more obstinate ones to see things my way! Unfortunately the drawing pins didn’t hold as I’d hoped – a few of them came loose while the Ottoman was in use over the next few days, so I replaced them all in one go with small short fat galvanized concrete nails instead – and that did the trick! At least the galvanized nails won’t easily rust and they stand out visually to make the cushion cover look attractive!


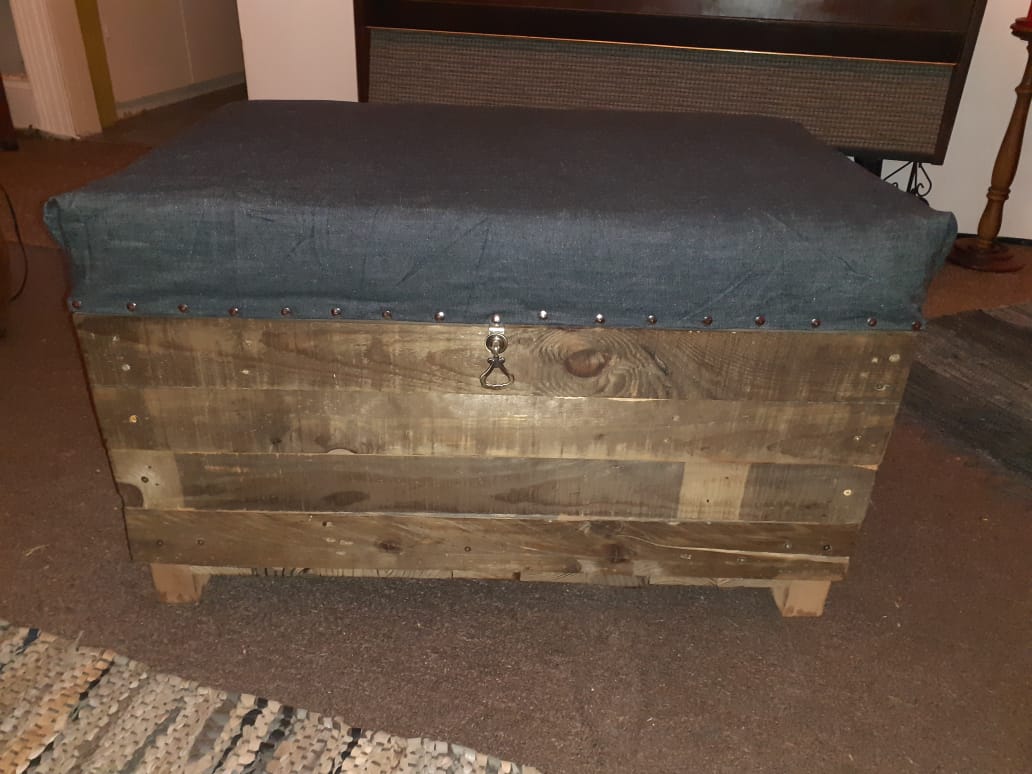
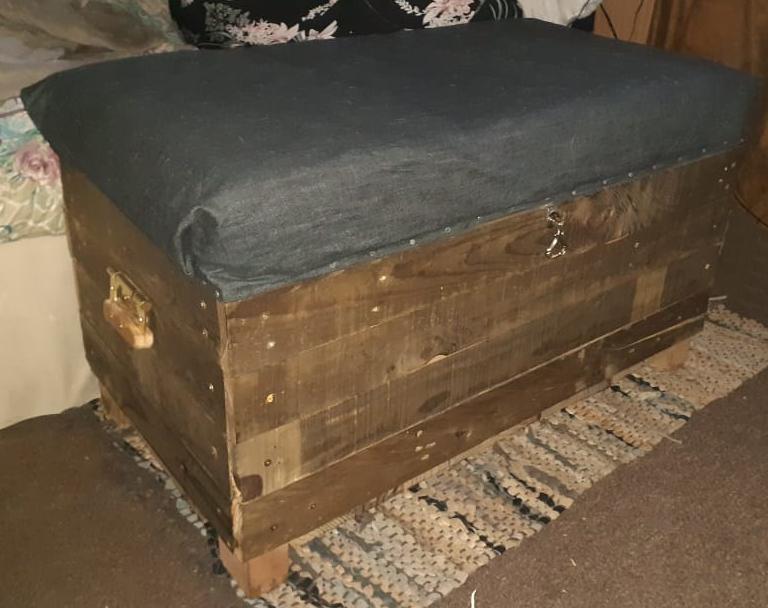
And there you have it – a cozy, attractive Wooden Chest Ottoman for your lounge, TV room or parlor! As you can see, it’s cat approved!
Pictures included – enjoy!
Have a DIY day!
Cheers!


All material copyright © Christina Engela, 2021.