


If like us, you may have a lot of vacant wall-space in your abode (and a lot of memorabilia stuck in boxes), you might want to consider something like this!
I had some wood lying around that I didn’t feel I could use for much else, so rather than tossing it out, I put it to good use. Some time ago, a friend had ripped out the ceiling boards from his house and replaced them with modern ceilings. Being the first to point out that this might reduce the original charm of such an old house (built in the 1890’s) in this case I could understand why. Yes, they were good quality planks – pine I think, but they’d got wet over the years from a leaky roof, and had begun to curl across the grain, resulting in gaps.
Besides, they weren’t all distorted – but he’d taken them all out anyway, and I wasn’t one to argue with a gift of free wood! I’d used most of the flat straight ones already for other projects, such as the corner book shelf in the lounge, and to revamp the kitchen cupboards – and what I had left were these… the slightly distorted ones!
I decided they would make a couple of good small box-shelves, which I would put up in our bedroom to display some of our memorabilia. The curvature would come in useful to prevent small things from just falling out – or getting accidently dusted out!
Making them was fairly straight-forward and simple – measuring out what I had to work with versus how many box-shelves I could get out of that. Each one had four sides, and I wanted to make rectangles.
As you can see from the photos, the corner shelf consists of an array of odd-sized box-shelves arranged from larger at the bottom, with successively smaller ones above. I decided to arrange them in a staggered formation to allow for more space to display items in the spaces.
Once cut, I sanded the planks using a belt sander. This ripped off most of the layers of paint and dust. I then used screws to assemble the boxes, and plastic corner braces at the top rear edge to mount them to the wall. A coat of dark-stained varnish gave them a beautiful finish.
Then, once dry, I fitted them to the bedroom wall with screws and wall-plugs. I used a spirit-level to make sure I placed them level!
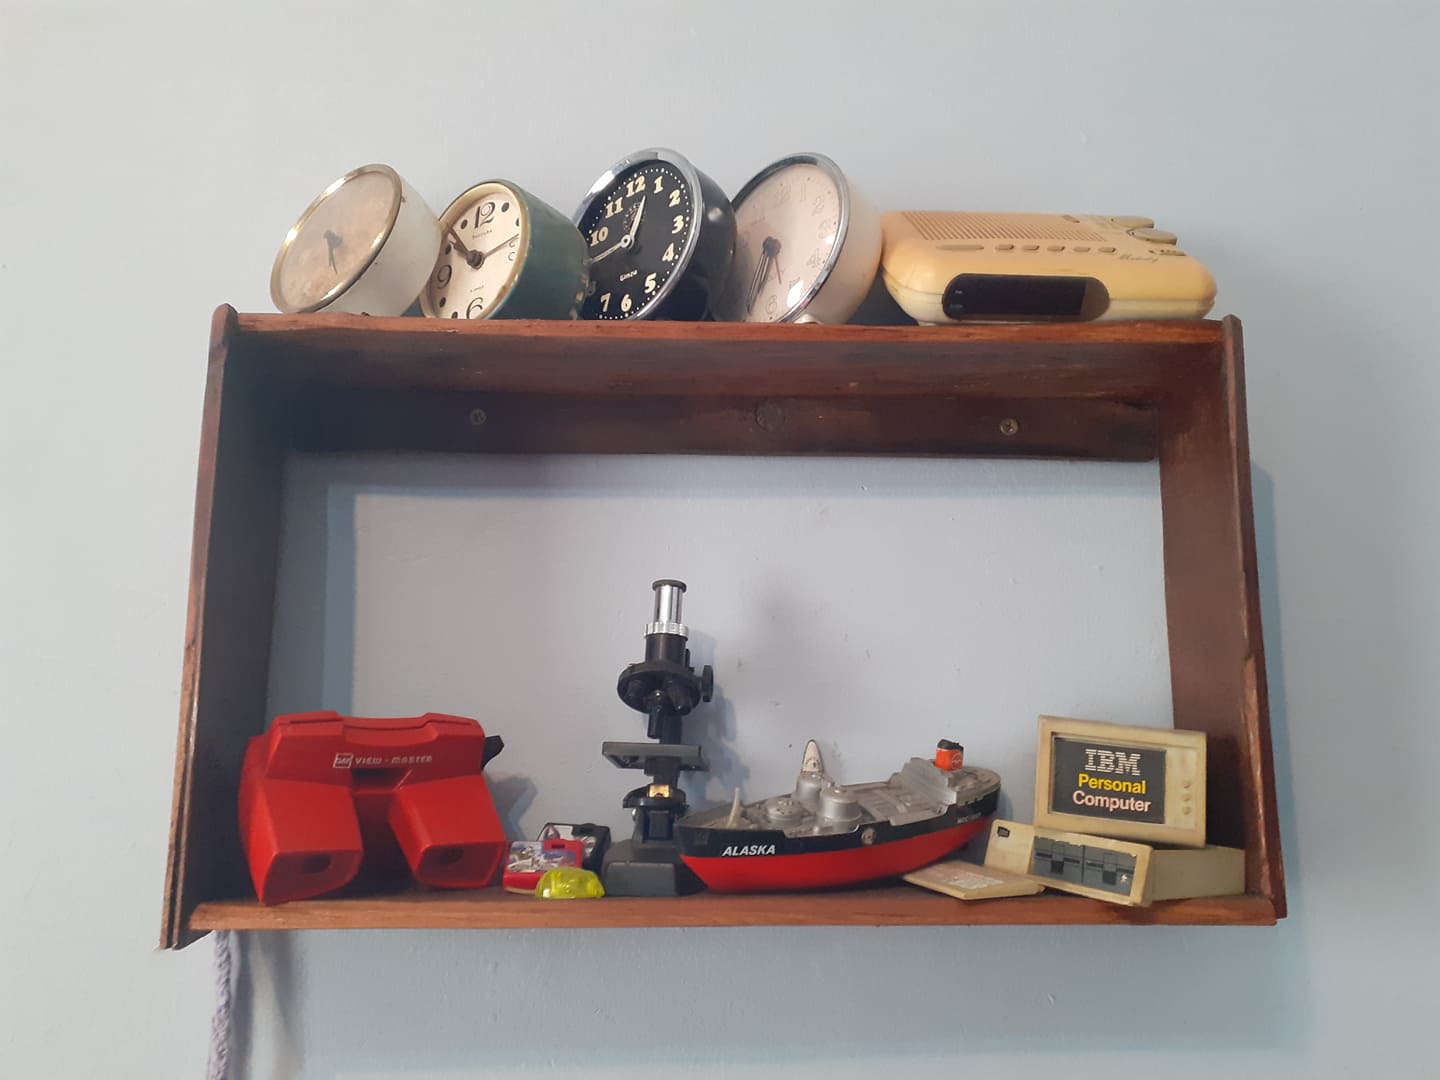

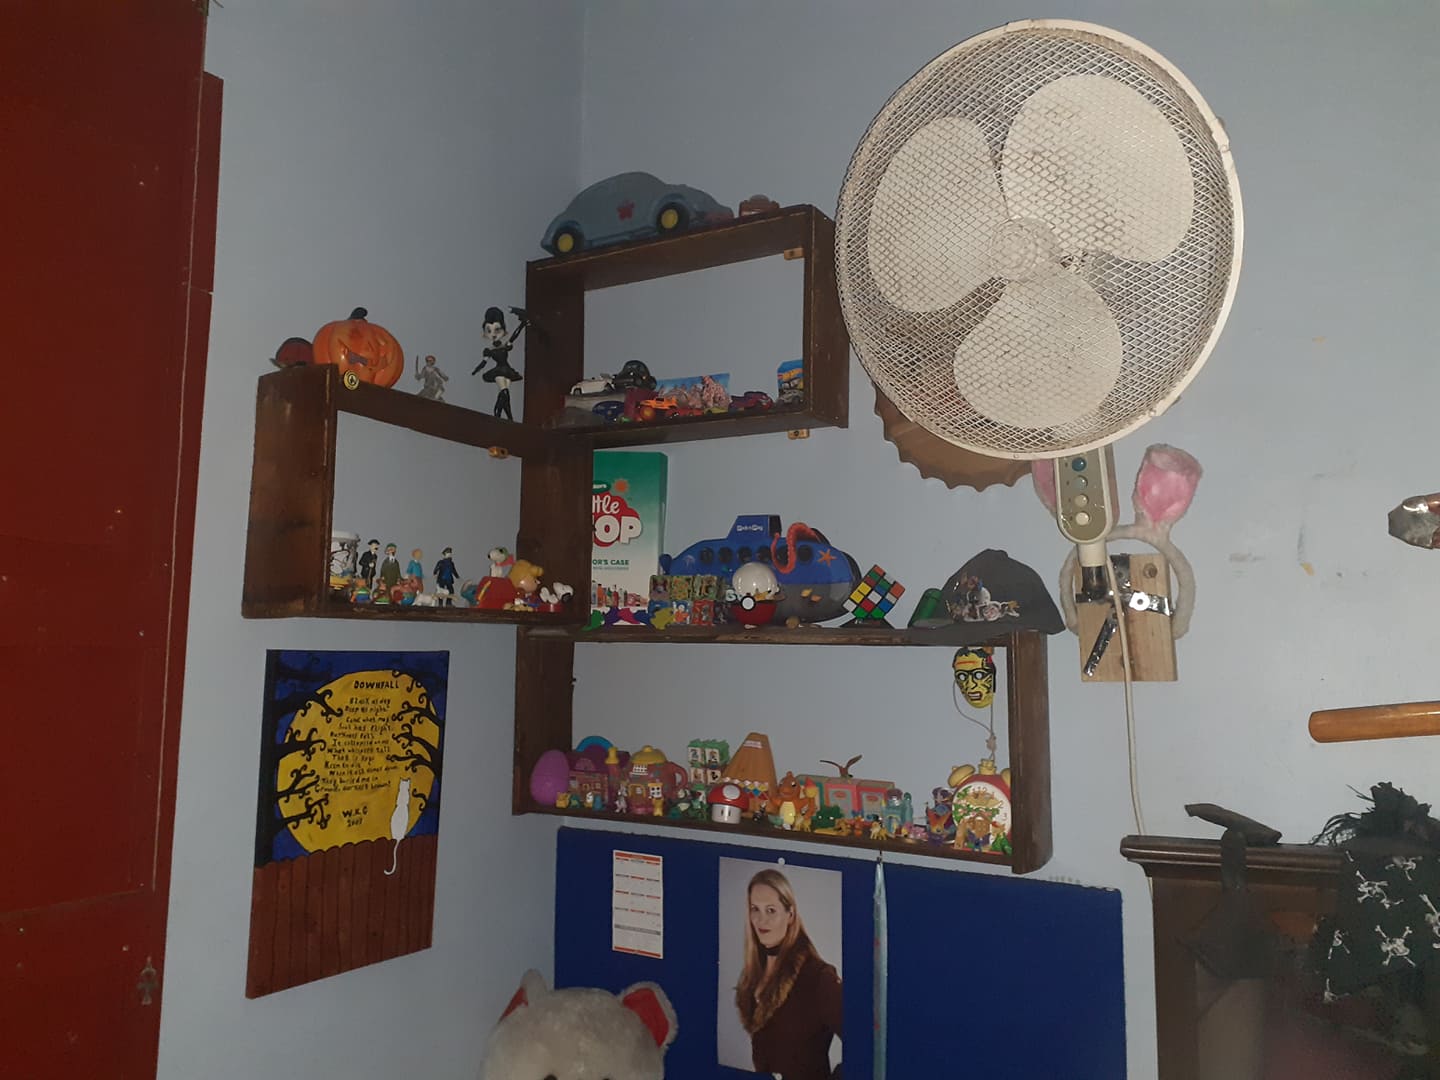
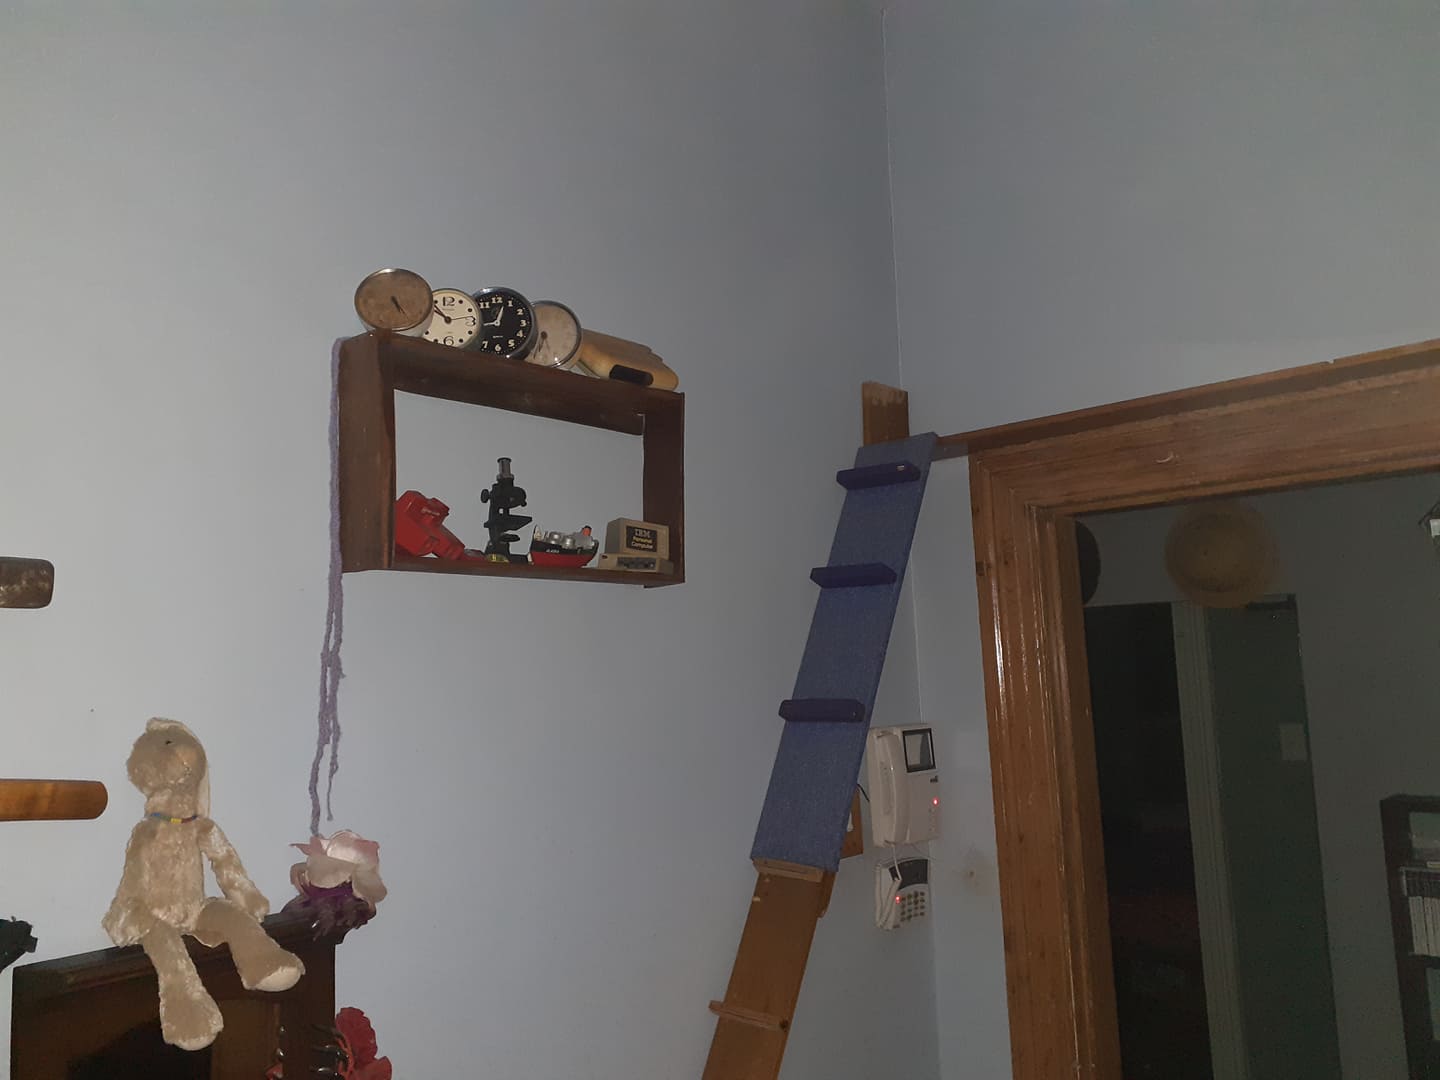
They add a nice rustic touch to an otherwise bare wall, don’t you think?
Pictures included – enjoy!
Have a DIY day!
Cheers!


All material copyright © Christina Engela, 2020.