
A back garden might seem like a bit of an odd sort of DIY project to some, but it really isn’t all that complicated. All you need is a little ingenuity, not much money – and bucket loads of patience!
Nowadays our formerly cement garden is a place where we can relax and forget about the outside world with its COVID and political drama and crime, and enjoy a bit of nature. There are lizards and geckos, bugs of all kinds – even those cute jumping spiders! We grow our own potato, tomato, grapes, gooseberries, chard, dill, basil, rocket, lettuce, beans, chilis, carrots, lavender, rosemary, catnip bulbonella, spekboom, aloe – and a variety of other useful herbs and plants. We even grew our first mielie plant the other day!
This then, is how we transformed our bare cement backyard into a little garden paradise!
About six years ago, I set off on this journey. Many years ago my mother had suggested something like this, and I’d filed it away for future use. Some time after her death, while thinking about stuff – as one does while working through these things, the idea re-emerged and I began to consider actually doing it, and how it might be done.
I decided that if anything worthwhile were to grow there, it would require a layer of earth on top of the cement, about a foot thick. Drainage wouldn’t be much of a concern in this case, as the cement was old and had a lot of cracks in it, and there was a drain at the lowest point which would still work – if I raised the sides of it to match the earth so water would drain off from the sides.
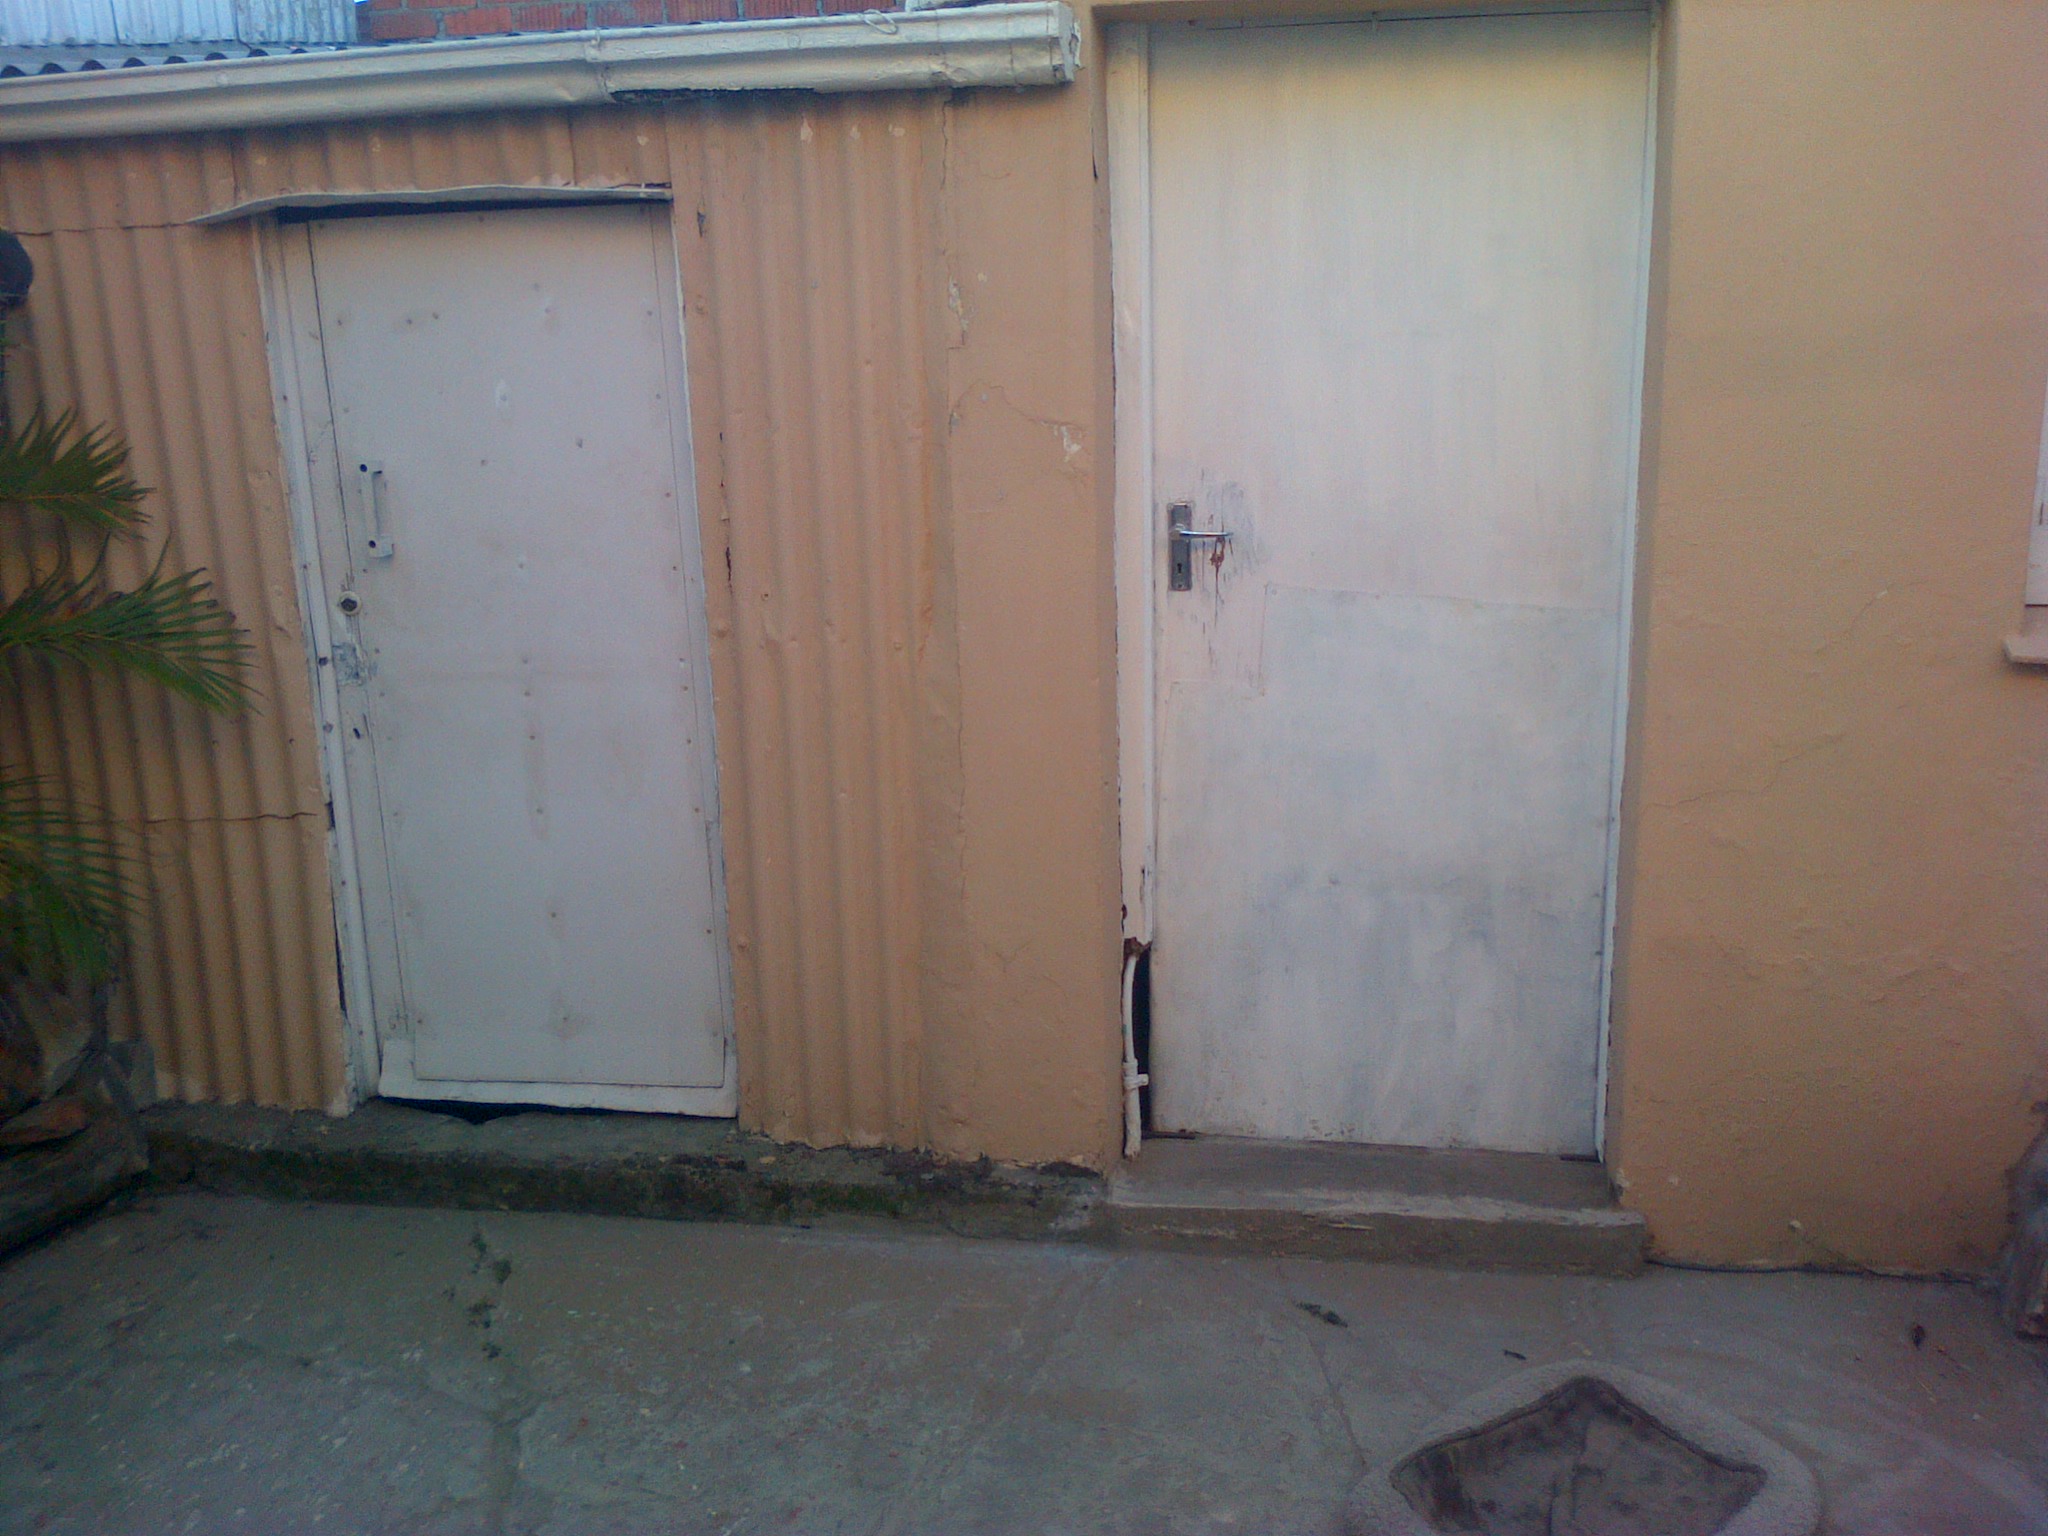
Of course, I had to do some preparation first. I had a lot of plans in my head after my mother passed, and the back end of the house – then consisting of an outside toilet and the original outside bathroom of the house, and a small garden shed, lay at the center of these.
During 2014-15 I had a little building work done to enclose the outside toilet into the outside bathroom, and made a doorway between them, and created a shower. The cast-iron bath moved outside to be a “chill pool” in what would later become my garden. I had a little low wall with a bench on top of it built beside the bath, and another low wall alongside the old brick braai I’d built many years ago when I was 19 years old (which still hasn’t fallen down!). I also collected some large white rocks from the beach to build retaining walls on top of the bathroom drains to keep the soil out of them. It also made the boring old cement drains look more attractive!
Then I was about ready to bring in the earth.
There’re are a few places in PE that sell various types of soil or sand by the bag, and at first I went with the cheapest – soil that had been mixed with horse manure, which cost me around R10 a bag, but which I could at least transport in the back of my car without needing to hire a bakkie! It took numerous trips and several days when I had time, and that’s the best part of it – you don’t have to do it all at once!
I’d carry two bags through from the car to the back garden at a time, and empty them out from the furthest end of the garden, leveling & evening everything out afterwards with a garden fork, rake and spade.
The nice thing about that system was that the place I got the soil from would give me R1 credit for the return of each bag, so for every ten bags, I’d get one bag of soil free.
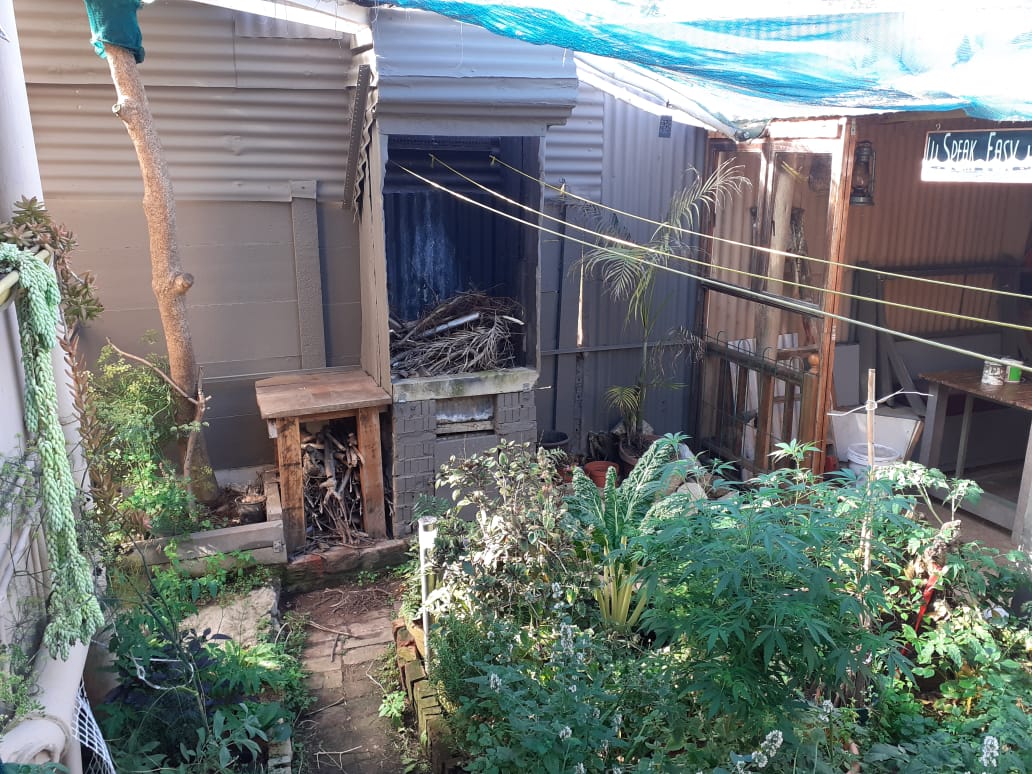
It’s really up to you what sort of plants you want in your garden, as for us, we wanted useful plants – things we could use for medicine as well as food. The thing that limited our choices here, was space. As you can see from the photos, we have a small back yard, so we had to make the most of the space we have! There’s a lot growing in there – all useful plants, no useless flowers in there – and you’re right – bush soil containing horse manure isn’t going to do all that! That’s where the patience came in!
It took at least two years of adding compost (Kay’s the one who has the green thumbs between us) and the occasional bags of “triple mix” from Builders to spice up the soil enough for it to be this fertile! We also grow a lot of our bigger plants in pots. A UV LED light for those cold winter nights helps keep the plants alive through the chilly season, and doesn’t use much power.
At first I used a few thick tiles and stepping stones to traverse the soil, which got muddy when it got wet. Aside from weeds at first – and clover, lots of clover – not much would grow in it. After a while, I’d amassed enough loose bricks I’d collected for the purpose, to lay a pathway through the garden, and to raise the side of the center garden further still.
Solar lights hung from high places and among the plants make our garden a wonderful relaxing place at night. This really added to the feel of the garden, as did raising the height of the boundary walls for the sake of privacy. The netting covering the garden is to keep our kitties inside (you can read the article about cat-proofing your home here) and to keep birds safe from the kitties! 😉
Next, a few photos of some of Kay’s lovely plants!


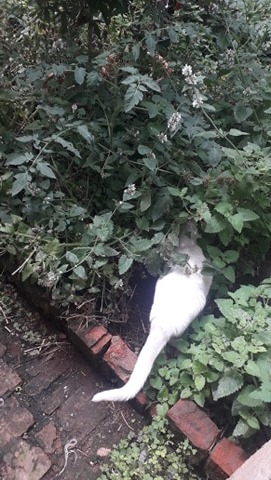
Our kitties also love our garden – they play hide and seek in the undergrowth, and there’s a big water dish under the catnip where they drink water like little leopards!
Just because you live in the concrete jungle, it doesn’t mean you can’t surround yourself with nature.


We brought nature into our home, and it’s wonderful. I hope this helps you see what’s possible, and maybe you can do this for yourself too!
Pictures included below!
Have a DIY day!
Cheers!


All material copyright © Christina Engela, 2021.